A bead blasted finish delivers a uniform, satin-matte look while cleaning and prepping parts for coatings. Using glass, ceramic, or plastic beads at pressure, bead blasting achieves Ra 1.6–6.3 μm with minimal material removal, preserving tolerances. This guide covers specs, media selection, process steps, applications, safety, and supplier selection to help engineers and buyers specify bead-blasted results with confidence.
Featured answer: Bead blasting propels fine beads (glass/ceramic/plastic) at controlled pressure to clean, deburr, and create a satin-matte “bead blasted” finish. Typical roughness is Ra 1.6–6.3 μm, with minimal material removal (Al: 0.008–0.012 mm; SS: 0.015–0.025 mm). It enhances paint/anodizing adhesion and yields a uniform, semi-reflective appearance.
Quick Facts: Bead Blasted Finish at a Glance
- Finish look: matte/satin, semi-reflective; micro-dimples create uniform sheen
- Typical roughness after beat blasting: Ra 1.6–6.3 μm
- Material removal (minimal): Aluminum 0.008–0.012 mm; Stainless steel 0.015–0.025 mm
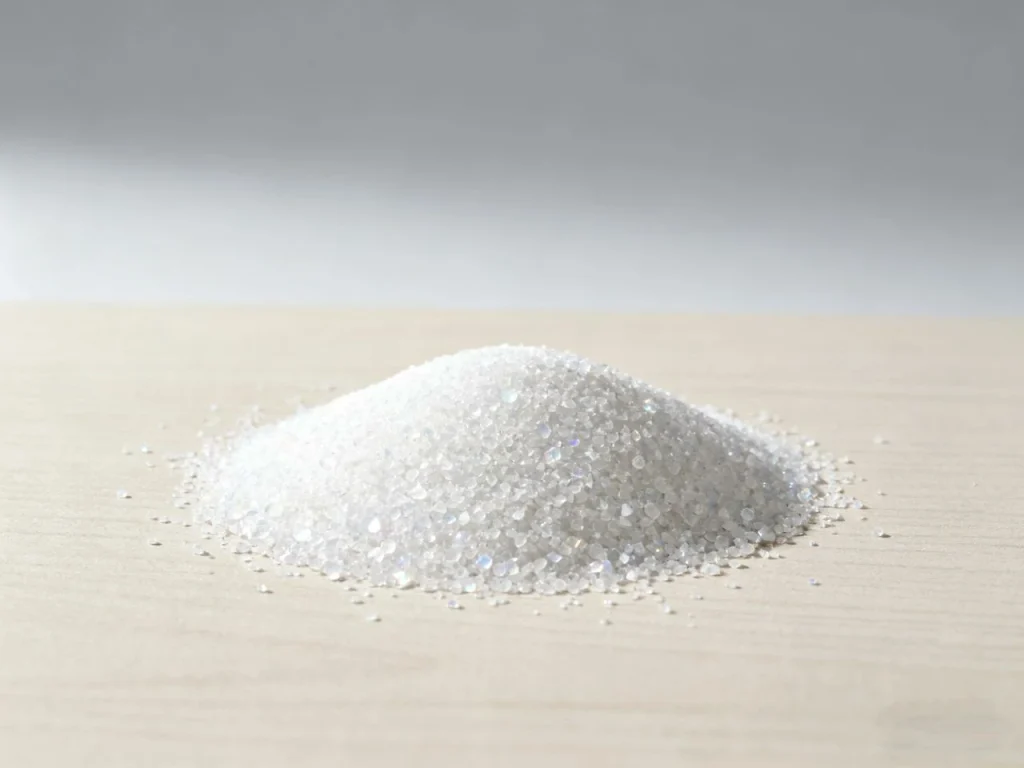
- Common blast media: glass beads (most), ceramic, plastic
- Ideal for: cosmetic uniformity, cleaning, deburring, adhesion improvement
- Anodizing prep: Ra ≈ 2.5 μm is a strong target for Type II
- Lead time impact: +2–3 business days; masking adds 1–2 days
- Thin-wall caution: under 1.5 mm—use low pressure (30–40 PSI) to avoid warping
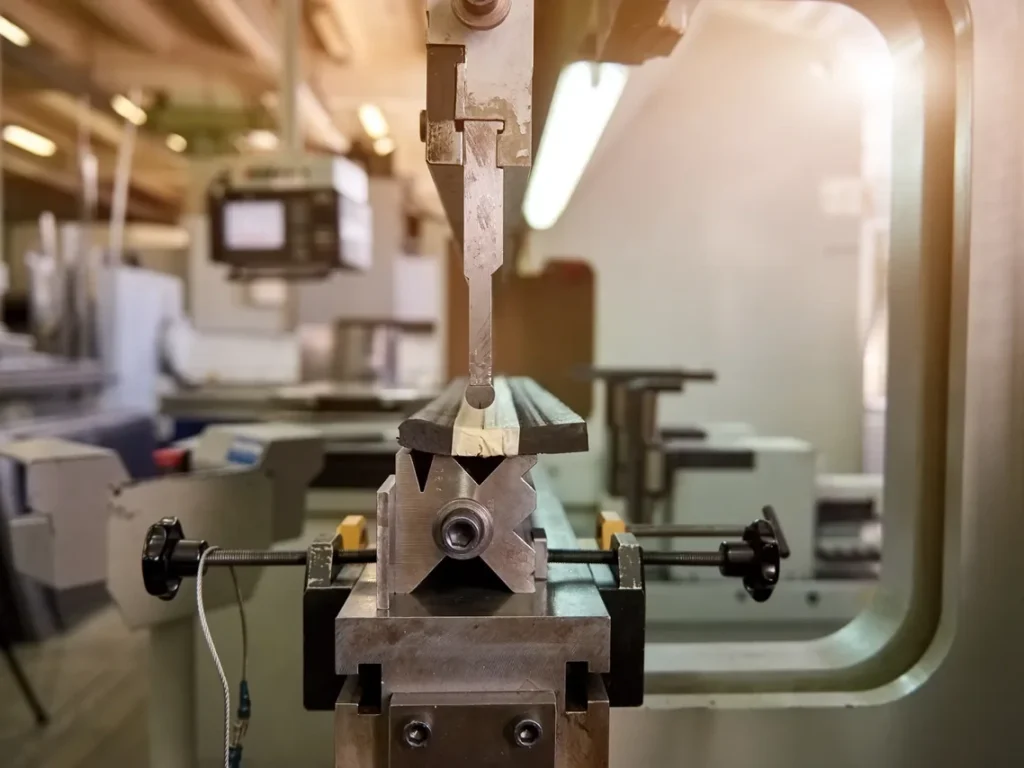
What Is Bead Blasting? Mechanism, Media, and Outcomes
To put it simply, bead blasting is a type of media blasting that uses tiny spherical beads to strike a surface. Bead blasting is gentle. Unlike sharp grit, the round beads gently beat against the surface, peening and cleaning rather than cutting. This is why the result is a smooth, satin finish with a uniform sheen. The impact forms tiny round-bottom dimples that scatter light in many directions, which results in a bead blast texture that designers prefer. That is the “bead blast texture” many teams request for metal parts and plastic components.
When someone asks “what is a bead blast finish?” think of three core actions:
- Gentle cleaning: removes oils, scale, and light oxidation.
- Light deburring: knocks off small burrs and sharp edges.
- Cosmetic smoothing: blends tool marks to a satin-matte look.
Which blast media should you use?
- Glass bead blasting is the most common. Glass beads are inexpensive, recyclable, and provide a consistent uniform finish on aluminum, stainless steel, and many plastics.
- Ceramic beads are harder, last longer, and keep their shape well. Choose them for high-volume jobs, bead blasting stainless steel, and tough steel alloys where long media life matters.
- Plastic media is softer. It protects delicate surfaces and works for plastics, composites, and thin aluminum where you want a gentler touch.
Dry vs wet (vapor) blasting:
- Dry blasting is fast and common in a bead blaster cabinet, and many shops still call the equipment a sand bead blaster even when only glass beads are used.
- Wet (vapor) blasting mixes water with the beads. It lowers dust and can give an even finer smooth finish on sensitive metal surfaces. Choose wet when dust control, heat control, or ultra-fine cosmetic work matter.
So, what is stainless steel bead blasted? It means stainless parts have been treated with spherical beads to produce a satin finish that hides fingerprints, blends machining marks, and supports coatings. Done right, bead-blasted stainless steel keeps its corrosion resistance because you are not gouging the surface or embedding rust-prone grit.

How to Get a Bead-Blasted Finish (Step-by-Step)
If you want to apply a bead blast finish to achieve a clean, uniform surface while still holding tight tolerances, follow this simple plan.
Preparation
- Degrease the part. Oil or coolant will smear under blast and cause blotches.
- Mask critical faces, threads, bores, and tight fits. Use silicone plugs, caps, and tape that resist blasting.
- Set your target surface roughness (Ra) and a visual standard (photo or sample coupon).
Parameter setup
- Choose media: glass, ceramic, or plastic beads based on material and goal.
- Pick bead size: smaller beads for lower Ra (smoother), larger for more texture.
- Set air pressure: thin walls and plastics at 30–40 PSI; robust parts can run higher.
- Select nozzle: size and type affect flow; a standard straight nozzle suits many jobs.
- Standoff and angle: begin around 150–250 mm at 60–90 degrees. Keep it consistent.
- Dwell time: use a steady sweep to avoid hot spots.
Execution
- Keep a consistent pattern with the bead blaster gun. Overlap passes slightly, like mowing a lawn.
- Rotate the part to avoid “shadowing” behind features, and maintain a steady grip on the bead blaster for consistent control.
- Refresh media at set intervals. Replace broken or dirty beads to prevent embedment.
Post-process
- Demask carefully to avoid nicking edges.
- Clean parts with air and/or ultrasonic rinse. Remove all beads from holes and threads.
- Inspect for Ra and visual uniformity. Compare to your bead-blasted finish sample.
Spec tip
- On the drawing, call out media type, bead size, pressure range, target Ra, areas to mask, and the appearance standard. Include “match sample coupon” to lock in the look.

Media and Parameter Selection Guide
The choice of type of bead blast depends on material and finish goals. Choosing the right bead media and settings helps you achieve the best bead blast results without risking parts.
Glass vs ceramic vs plastic beads:
- Use glass beads for most bead blasting aluminum and bead blasting metal where you want a crisp matte finish, a uniform surface finish, and tight tolerance control.
- Use ceramic beads for long runs, tough materials, and when you want less media breakdown. They often give a slightly finer uniform surface for the same size bead.
- Use plastic beads for delicate polymers and thin metals. They reduce the risk of distortion and media embedment.
Media size and finish:
Choosing the right beads for a bead blast is critical.
- Smaller beads (finer sieve sizes) create lower surface roughness and a more satin look. They are a good match for anodizing prep and painting.
- Larger beads create more visible texture and higher Ra. Use them when you need more bite for adhesion or want to hide deeper tool marks.
Pressure guidance:
- Thin walls (< 1.5 mm), delicate parts, or plastics: 30–40 PSI.
- Moderate aluminum and stainless brackets, housings, and frames: 40–70 PSI.
- Large, rigid steel parts: higher pressures may be used with care. Avoid over-peening.
Avoiding embedment and contamination:
- Keep media clean. Replace when a sieve check shows heavy fines. Dirty or broken beads can smear contaminants into the metal surface.
- Do not mix aluminum oxide grit with beads if you want a pure bead blast surface finish. Angular grit will raise Ra and change the appearance.
- Separate cabinets for different materials reduce cross-contamination (for example, when blasting stainless vs carbon steel).
Surface Finish and Performance Metrics
The quality of the finish in bead blasting comes down to a few measurable traits—here we focus on bead size, air pressure, and Ra measurement.
- Roughness (Ra): Typical Ra 1.6–6.3 μm after bead blasting. Use a calibrated profilometer and measure at several points on the part. Report the mean and range. For clear targets, specify a band like “Ra 2–3 μm.”
- Material removal: Expect minimal removal that preserves precision fits. As a guide, aluminum often loses about 0.008–0.012 mm; stainless steel about 0.015–0.025 mm. Plan tolerances so critical bores and sealing faces are masked rather than blasted.
- Adhesion: Many paints and anodize layers bond better to bead-blasted surfaces. A target Ra ≈ 2–3 μm often works well for Type II anodize and most coatings. This range balances cosmetic smoothness with enough micro-anchoring for the coating.
- Mechanical effects: The round beads create mild peening, which can reduce small stress risers. However, do not rely on bead blasting for fatigue improvement the way you would with shot peening. If parts are fatigue-critical, set conservative pressures and verify with testing.
Bead Blasted vs Other Finishes
When people ask about the difference between bead blasting and other methods, here’s the simple answer: beads are round and gentle, while many other media are sharp and cut more aggressively. This changes both the look and the risk to tight tolerances.
Comparison highlights:
- When comparing bead blasting and sandblasting: sandblasting uses sharp grit (like aluminum oxide). It cuts faster and creates a rougher surface. Bead blasting is gentler and more consistent for cosmetic uniformity. This is the key difference between sandblasting and bead blasting.
- Bead blasting vs shot peening: Shot peening is not a cosmetic process. It uses hard steel shot to impart compressive stress for fatigue life. A bead blast finish is cosmetic and for prep, not for structural enhancement.
- Bead blasting vs tumbling: Tumbling can smooth edges but may struggle with deep pockets and complex geometry. Bead blasting reaches tight features with a blast gun and can mask precise areas.
- Dry blasting vs vapor honing/wet blasting: Wet blasting lowers dust and heat, often producing an even finer finish on some materials. It can be a good pick for softer alloys and for places where dust control is strict.

Application Playbook and Case Snapshots
The applications of bead finishing are broad, and bead blasting uses include medical, automotive, aerospace, electronics, and even DIY projects.
Medical devices: Teams often specify a satin finish that is easy to clean and non-reflective under bright lights. Bead blasting removes contaminants and blends tool marks without rough surface gouging. Keep Ra around 2–3 μm to aid cleaning and prep before passivation or coating.
Automotive: Engine and transmission housings, brackets, and covers benefit from a uniform surface that hides machining lines. Bead blasting can prep for paint or powder coat, giving better adhesion and fewer rework cycles. It can also help the part resist fingerprints and stains.
Aerospace: Bead-blasted aluminum parts often go to Type II anodize. A Ra ≈ 2.5 μm target helps get the consistent color that aerospace buyers expect. Blasting also blends minor tool marks and removes small burrs before assembly.
Electronics and consumer products: Housings, mounts, and custom PC hardware get a premium matte finish that reduces glare and smudging. With proper masking, you keep tight bores and datum faces untouched, while the outer surfaces get a clean uniform finish.
DIY/Maker: Bike stems, 3D printer frames, and camera plates take a nice dull finish from glass beads. A small bead blaster cabinet with blast guns with foot pedals gives good control, especially for small batches. Keep pressure lower to avoid altering critical fits.
Overall, bead blasting is a versatile finishing process that works across metals, plastics, and composites.

Design for Manufacturability and Tolerances
Worried about changing dimensions? The key point is simple: bead blasting can provide the look you want with minimal material loss, but you should still design for it.
- Wall thickness and geometry: Parts under 1.5 mm can flex or warp, since blasting may apply uneven force if pressure is too high. Use 30–40 PSI and wider standoff to reduce risk. Support thin sections during blasting.
- Masking strategy: Mask threads, bores, bearing/sealing surfaces, and datum faces. Mark masked regions on the drawing and provide plugs or caps if possible.
- Tolerance planning: Where a press fit or H7 bore matters, avoid blasting those surfaces. If you must blast near them, define a strict masking plan and verify with first-article inspection.
- Example spec line: “Bead blast, glass bead #8–13, 50–70 PSI, Ra 2–4 μm; mask bores Ø10 H7, sealing faces; match sample coupon.”
Safety, Environmental, and Compliance
A bead blasting process creates dust and uses compressed air. It needs good controls to protect people and the workplace.
- Risks: Dust from broken media and substrate can become airborne. Avoid silica sand. Control fine particles to protect lungs and keep the area clean.
- Controls: Use a sealed bead blasting cabinet with a dust collector. Wear a suitable respirator, eye protection, gloves, and cover skin during cabinet service or manual blasting. Keep ventilation strong.
- Media handling: Glass and ceramic beads are often recyclable. Replace media on a set schedule to avoid fines and contamination. Dispose of spent media as required when coated with paint chips or heavy metals.
- Compliance cues: Follow OSHA exposure limits for airborne particles and noise. Check NIOSH guidance for abrasive blasting safety. Manage waste streams per EPA hazardous waste rules. For coating prep, consider relevant military or industry specs (for example, when prepping aluminum for anodizing).
Troubleshooting and Quality Control
Common issues and quick fixes:
- Uneven sheen or swirl marks: Keep a steady sweep. Increase overlap. Reduce pressure if hot spots appear.
- Excessive roughness (high Ra): Use smaller beads or lower PSI. Increase standoff distance. Switch to wet blasting for ultra-fine work.
- Media embedment: Replace worn media, lower pressure, and ensure the part is clean. Avoid mixing sandblast grit with beads.

- Shadowing in pockets: Adjust the angle and reposition the part. Use smaller nozzles and rotate the part for line-of-sight coverage.
- Fingerprints or stains after blast: Improve cleaning before blasting. Finish with an ultrasonic bath and use clean gloves to handle parts.
Quality checks that keep results repeatable:
- Ra measurement: Take readings at several locations. Record the average and range.
- Visual standards: Keep a bead-blasted sample coupon with the job traveler. Compare under the same lighting each time.
- Adhesion checks: For paint or powder, a quick tape test on a test panel can confirm prep quality.
- First-article approval: Run one part first, inspect, and lock in settings before full production.
Pricing, Lead Times, and ROI
Time and cost are often modest compared to the gain in coating success and cosmetic value.
- Typical lead time impact: +2–3 business days for blasting itself. Complex masking and inspections can add 1–2 days.
- Cost drivers: Media type (ceramic costs more but lasts longer), masking complexity, part size and volume, Ra control and inspection rigor, and whether you need sample coupons and detailed reports.
- ROI: A bead blast finish can reduce coating rework, hide tool marks, and keep tolerances safe by removing very little material. In many shops, it is the best “last mile” step before anodize or paint.
Simple estimators:
- Material loss estimator: Removal volume ≈ blasted surface area × removal thickness (use 0.008–0.012 mm for Al, 0.015–0.025 mm for SS). Example: If you blast 0.05 m² on aluminum at 0.01 mm removal, volume ≈ 0.05 × 0.00001 m = 5e-7 m³.
- Media refresh rule of thumb: Replace 10–25% of media per 8–16 hours of blasting, depending on pressure and part hardness. Sieve-check weekly to keep fines low.
How to Choose a Bead Blasting Service
Picking the right vendor keeps surprises away. Here’s a simple checklist of what to ask and confirm.
- Do they offer glass, ceramic, and plastic beads and advise on blasting media selection?
- Can they hold your Ra range and verify it with calibrated tools?
- Will they mask threads, bores, and sealing faces to your print?
- Can they run a sample first and keep a retained coupon?
- Do they control media cleanliness and refresh intervals?
- Do they follow a quality system (e.g., documented work instructions) and comply with safety and environmental rules?
- Have they blasted your alloys before (e.g., bead blast finish stainless steel, bead blasting aluminum) and can they show examples?
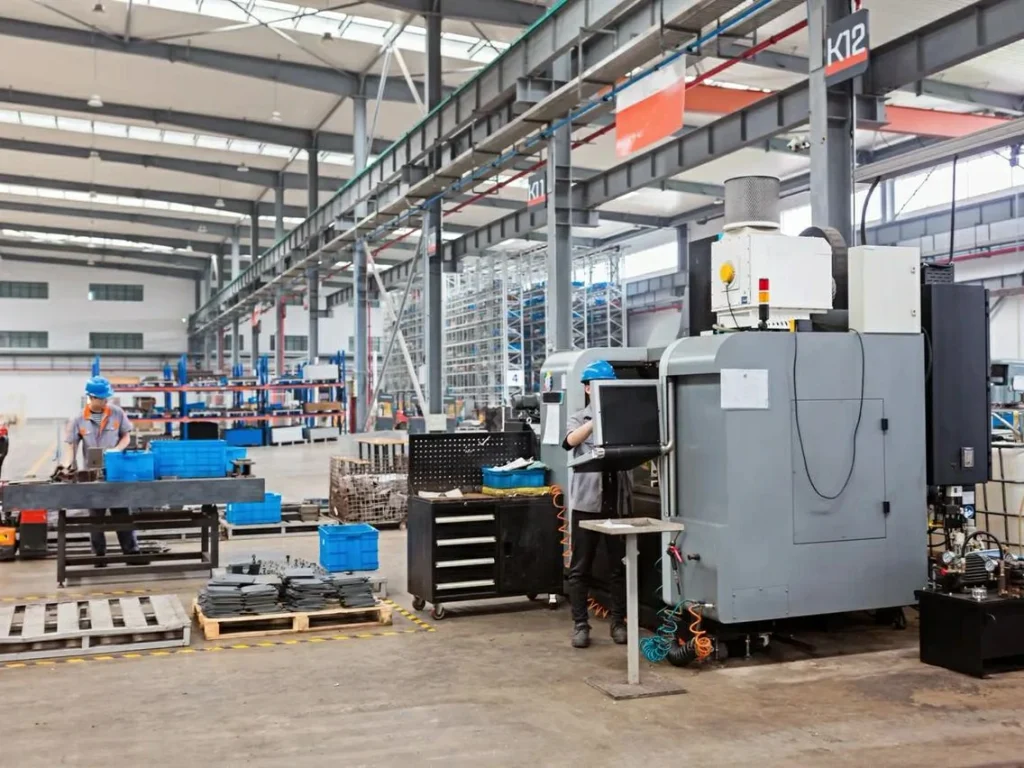
Example supplier: U‑Need provides precision parts manufacturing with capabilities for post-machining surface finishes, including bead blasting. Partnering with a supplier like this ensures your parts meet tight tolerances while achieving the desired surface finish.
RFQ tips:
- Include drawings with masked areas clearly marked.
- State media, bead size, pressure range, and target Ra.
- Add notes on follow-on coatings (anodize, paint) and the desired color/texture.
- Provide a photo or sample for the desired finish when possible.
Conclusion and Key Takeaways
A bead blasted surface gives a uniform satin-matte look, with typical Ra 1.6–6.3 μm and very low material loss. That makes it a smart choice for cosmetic upgrades and for anodizing prep or paint adhesion. To get repeatable results, control media, pressure, and masking, and verify with sample coupons and Ra checks. For thin parts, drop PSI to protect geometry. Choose vendors who show strong safety, environmental, and quality practices so your bead-blasted finish is consistent from the first part to the last.
FAQs About Bead-Blasted Finishes
Common questions about bead blasting that people often ask include its meaning, process, and differences from other blasting methods.
It’s basically a type of abrasive blasting where tiny round beads are fired at a surface under pressure. Unlike harsh cutting abrasives, the bead blasting technique is much gentler—it cleans and smooths the material without removing too much. The result is a bead blasted finish that looks satin-matte, feels smooth, and gives an excellent surface finish. This blasting method is often used when you need a smooth part with a uniform appearance, especially on precision components. People like it because bead blasting is also flexible—you can adjust the blasting media selection chart, the air pressure of your bead blaster, and even the types of bead used to achieve the desired finish.
When we talk about bead blasted finish on stainless steel, it means stainless steel parts are treated with spherical blasting media, usually glass beads, to create a uniform, non-reflective surface. This finish can hide small machining marks, improve grip, and help coatings or paints stick better. If applied correctly, bead blasting can provide a clean surface while keeping stainless steel’s natural corrosion resistance. To achieve the best bead finish, a high-quality bead blaster cabinet must be used, with clean media and sometimes even a passivation step afterward. So, stainless steel bead blasted parts are not only cosmetic but also practical, used for bead blasting applications in medical, aerospace, and food equipment where hygiene and durability matter.
Good question! A lot of people confuse these two blasting methods. Sand blasting glass beads and bead blasting sound similar, but the results are different. Sandblasting usually uses angular media like aluminum oxide, which cuts aggressively into the surface. It’s great if you need to strip heavy coatings or create a rough texture. Bead blasting, on the other hand, uses spherical beads, which means the process is gentler. The finish options with bead blasting are smoother, more uniform, and more cosmetic. Compared to bead blasting, sandblasting may remove more material and can sometimes leave surfaces too rough for precision work. So if you need a satin, polished look, bead blasting is better.
These are two totally different surface treatments. Applying a bead blast is a mechanical surface process—it physically bombards the part with beads to create the matte texture. Anodizing, however, is an electrochemical process that changes the surface of aluminum to add corrosion resistance and color. Many manufacturers actually combine both: first applying a bead blast to smooth out tool marks and create an even texture, then anodizing to lock in durability and style. If you want both aesthetics and performance, this combo gives you the best bead blast + anodized finish option.
This is a common concern. If stainless steel is blasted with the wrong media—say contaminated grit that has iron or carbon steel particles—then yes, rust can occur. That’s why the blasting media selection chart is important. For stainless steel, use bead blasting media like clean glass beads to avoid contamination. After blasting, it’s also smart to do a passivation step to restore the protective chromium oxide layer. Done correctly, a bead blast finish can clean the part without reducing corrosion resistance. So, bead blasting can be used safely on stainless steel, but always make sure the surface to be bead blasted is treated in a clean environment.