If you’ve ever wondered how to create plastic, this guide gives you the essential steps up front, then deeper science and factory methods. Learn the industrial process from fossil or bio feedstocks to pellets and products, plus safe classroom demos, sustainability tips, and clear answers to common questions.
Key Takeaways
- Plastics start as crude oil or natural gas (or plant-based feedstocks), refined into naphtha/ethane/propane, cracked to monomers (mainly ethylene, propylene), polymerized into resins, compounded into pellets, and formed via molding or extrusion.
- Steam cracking (about 800–900°C) produces ethylene/propylene; addition vs. condensation polymerization determines resin families.
- Injection molding makes a large share of plastic parts; extrusion is also widely used for films, sheets, and profiles.
- Over 390 million tons of plastics were produced globally in 2021; polyethylene leads by volume.
- Safer at-home “plastics” include casein bioplastic (milk + acid) and simple PVA slime demos—avoid melting or chemical synthesis at home.
How to Create Plastic (Quick Overview)
- Step 1: Extract and refine feedstock
- Crude oil and natural gas are distilled; light fractions (naphtha) and NGLs (ethane/propane) are prepared as the raw material.
- Step 2: Crack into monomers
- Steam or catalytic cracking breaks hydrocarbons into ethylene and propylene—the building blocks of many plastics.
- Step 3: Polymerize
- Addition polymerization (PE, PP, PVC, PS) or condensation (nylon, polyester) joins monomer units into long chains.
- Step 4: Compound and pelletize
- Add stabilizers, colorants, UV/oxidation inhibitors; convert to uniform plastic pellets (“nurdles”).
- Step 5: Form and finish
- Injection molding, extrusion, blow molding, compression molding, 3D printing; then cool, finish, and QA.
The Science Behind Plastics
To create a plastic, you start with monomers—small molecules like ethylene (from ethane) or propylene (from propane). When these monomers link together through polymerization, they form polymers—very long chains that give plastic its strength, toughness, and flexibility. The way chains are linked and packed decides how a plastic product behaves in your hands.
Think of polyethylene as a simple chain of repeating units. If the chains are very straight and pack tightly, you get HDPE (high-density polyethylene)—stiff, strong, good for pipes. If chains are more branched and don’t pack as tightly, you get LDPE—soft and flexible, great for film and grocery bags. A catalyst guides how chains grow. Ziegler–Natta and metallocene catalysts help control molecular weight, branching, and copolymer content, which tune density, melt flow, and impact strength.
In short, how plastic is made is really about controlling molecules and process conditions so you get the right balance of stiffness, clarity, heat resistance, and cost. That’s why you see a wide range of products even when many start from the same simple monomers.
How to Create Plastic (Industrial Steps, Deep Dive)
Before diving into the detailed industrial workflow, it helps to understand how plastic materials move from simple hydrocarbons to engineered polymers. This deeper look shows why different plastic materials behave so differently once they reach molding shops and fabrication lines.
Raw Materials, Extraction, and Distillation
Most modern plastics start from fossil fuels, mainly crude oil and natural gas. Oil and gas are extracted, transported, and sent to a refining process where fractional distillation separates the mixture by boiling points. Based on PlasticsEurope data, naphtha derived from oil and ethane/propane from natural gas are the most commonly used raw materials for producing polyethylene, polypropylene, and other widely used polymers.One key output is naphtha, a liquid hydrocarbon mix used to produce plastics. From natural gas processing, you also get NGLs like ethane and propane, which are ideal for making monomers. The choice of feedstock often follows regional supply: some regions are rich in ethane, others rely more on naphtha.
You may wonder, can natural materials like plants play a role? Yes. Some facilities use bio-based feedstocks from sugars or cellulose to make bio-ethylene, PLA, or PHA. These can reduce dependence on oil and gas, though energy use, land impact, and end-of-life still matter.
Cracking to Monomers
Refined light hydrocarbons need to be broken into smaller molecules. A steam cracker heats ethane, propane, or naphtha with steam to very high temperatures (typically around 800–900°C) for a fraction of a second. This process known as steam cracking snaps long chains into smaller building blocks like ethylene and propylene. The cracker also produces byproducts such as pyrolysis gasoline and hydrogen, which are valuable elsewhere in the plant. Facilities recover heat to improve energy efficiency.
Catalytic cracking uses special catalysts and different conditions. It’s common in fuel refineries and can help adjust product slates, but for ethylene it’s the steam cracker that dominates. In all cases, downstream separation units purify monomers to the tight specs needed for polymer production.
Polymerization Methods
Now comes the core: turning monomers into resin.
- Addition polymerization. Monomers like ethylene and propylene add to a growing chain one by one. This creates big families like PE (LDPE, LLDPE, HDPE), PP, PVC, and polystyrene. Catalysts are key. Ziegler–Natta catalysts are great for polypropylene and HDPE with controlled isotacticity or branching. Metallocenes offer even tighter control over distribution and melt index.
- Condensation polymerization. Two different monomers react and give off a small molecule like water or methanol. This is how we make polyesters (like PET—polyethylene terephthalate) and nylons. Process conditions and stoichiometry (the balance of parts) control molecular weight and toughness.
By adjusting temperature, pressure, catalyst type, and even small comonomer doses (like butene or hexene for LLDPE), you tailor crystallinity, density, clarity, and impact. That’s why one plant can make a rigid detergent bottle resin and a soft film resin from the same basic monomer.

Compounding and Pelletizing
Fresh polymer can degrade under heat, light, or oxygen. So manufacturers add antioxidants, heat stabilizers, UV absorbers, slip agents, impact modifiers, flame retardants, and pigments. This step is compounding. The resin and additives are melted in a twin-screw extruder, mixed well, filtered to remove gels or metal fines, and then cut into small, uniform plastic pellets—also called nurdles. Pellets flow easily, are simple to ship, and become the standard feed for extrusion and molding shops that create the final plastic parts.
Forming and Fabrication
Pellets are delivered to processors who shape them into the wide range of products you see daily—bottles, films, pipes, caps, housings, and more.
- Injection molding. Pellets melt in a barrel, a screw pushes melt into a closed mold, the part cools and solidifies, then ejects. It’s fast, repeatable, and ideal for complex shapes. Common resins include PP, HDPE, ABS, PS, and PC. Watch for defects like sink marks, short shots, and warpage; mold temperature, packing pressure, and melt flow settings help fix them.
- Extrusion. An extruder pushes melt through a shaped die to make continuous profiles, pipes, films, or sheets. Cooling happens by air or water baths, then the line pulls and cuts to length. LDPE, LLDPE, HDPE, PVC, and PET are common, depending on whether you need flexible film or rigid sheet. Film blown extrusion uses air to inflate a tube for grocery bags and packaging.
- Blow molding. To make bottles or hollow items, processors use extrusion blow molding (forming a hot tube—parison—then inflating it in a mold) or injection blow molding (preform + blow). HDPE and PET dominate bottles because they balance weight, toughness, and barrier properties.
- Compression molding and 3D printing. Compression molding suits large, thick parts or thermosets. 3D printing (FDM/FFF with ABS or PETG; resin printing for special polymers) is great for prototypes and short runs. Each method balances surface finish, dimension accuracy, and cost.
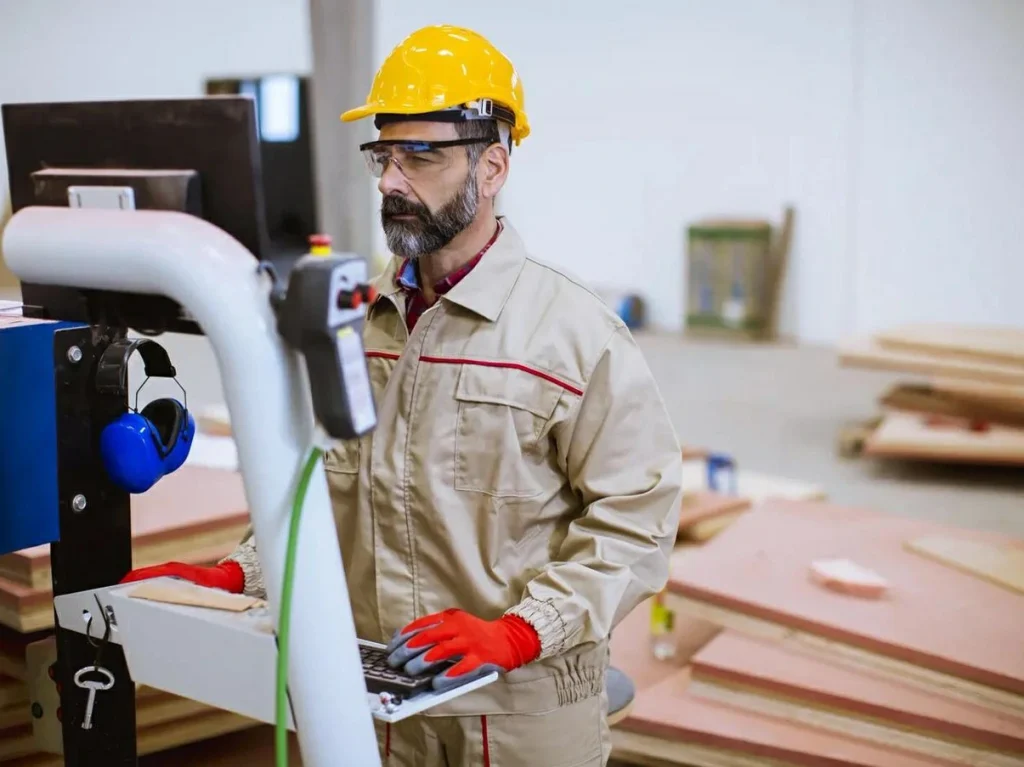
- Post-processing. Parts may be annealed (slowly heated) to relieve stress, then machined, printed, welded, or labeled. Here is where CNC steps in.
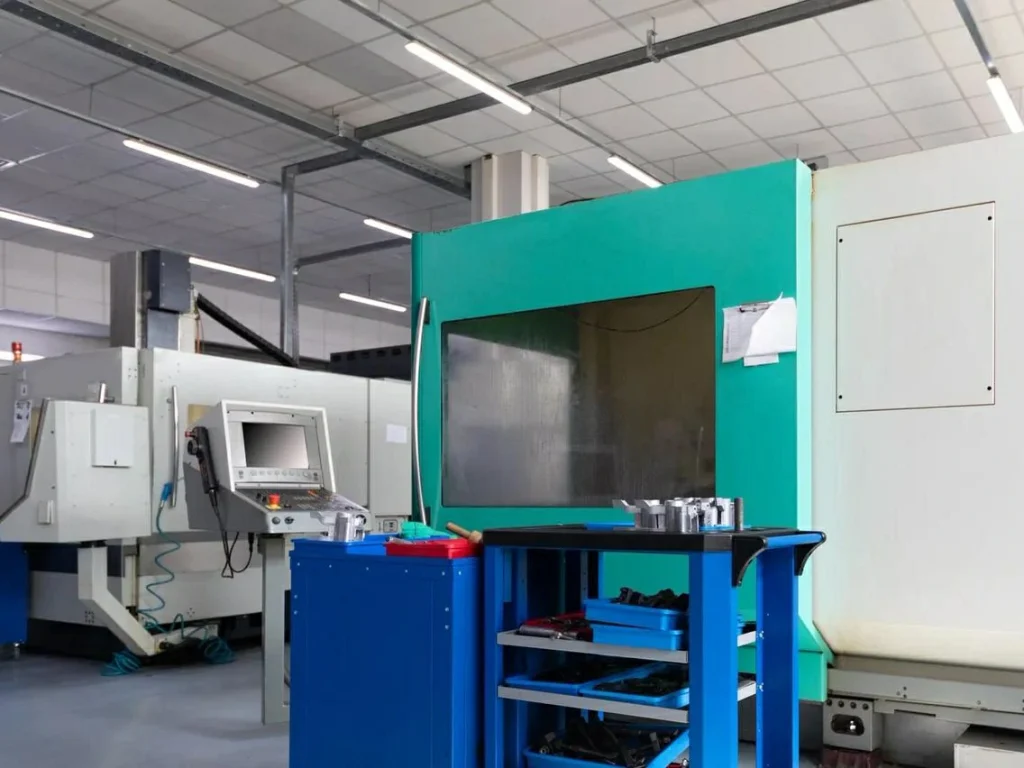
Can you CNC machine plastic?
Yes—CNC machining plastic is common for prototypes and low-volume runs when you need exact features or tight tolerances. CNC milling plastic and CNC turning both work well because many thermoplastics cut cleanly, don’t require cutting fluids (or need only light mist), and hold dimensions when properly fixtured.
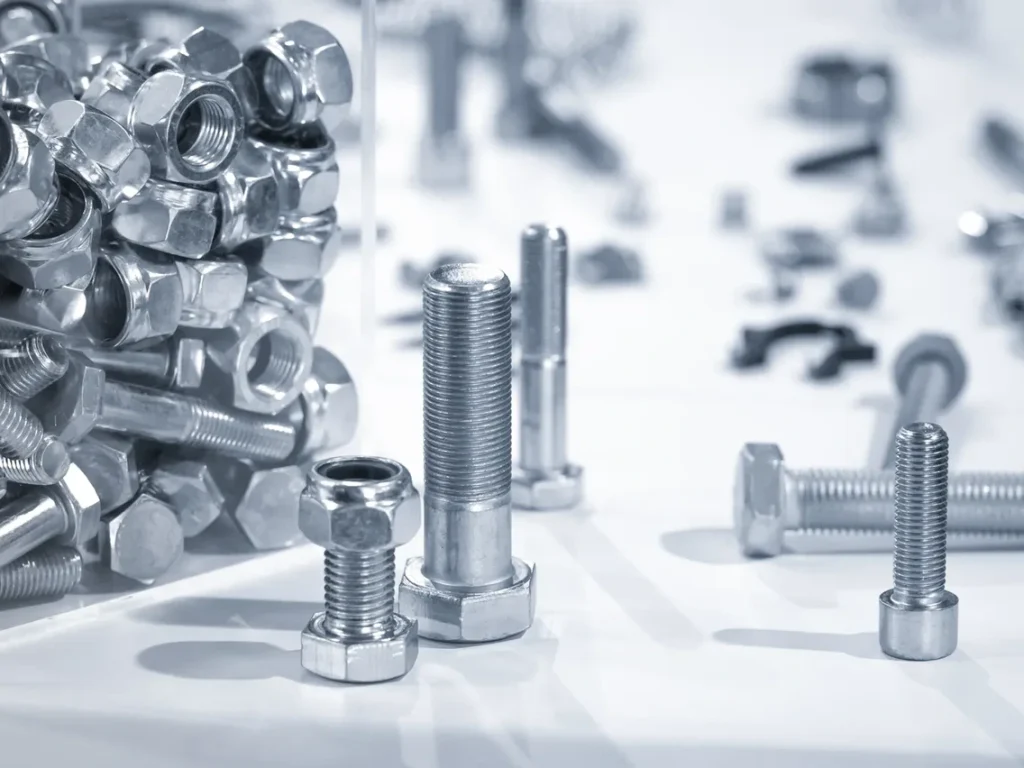
- Common CNC plastic parts include housings, manifolds, gears, spacers, and fixtures. These components benefit from CNC machining because plastics can be shaped into precise, lightweight structures with smooth surfaces. Housings and enclosures often require tight fits for electronics, manifolds need clean internal paths, gears rely on accurate tooth profiles, and spacers or fixtures must maintain consistent thickness and alignment. CNC machining delivers the consistency and repeatability these parts demand.
- Use sharp tools meant for softer materials, high spindle speeds, and moderate chip loads to avoid melting. Plastics respond best to cutters designed with high rake angles and polished flutes. Running higher spindle speeds allows the tool to slice cleanly, while moderate chip loads prevent rubbing and heat buildup. Dull tools or overly heavy cuts can generate friction, causing the material to soften, smear, or weld to the tool.
- Keep parts cool with air; avoid overheating which can smear or warp surfaces. Air blast or light mist cooling helps clear chips and maintain stable temperatures during machining. Because many plastics have low melting points and poor thermal conductivity, heat can quickly build up and distort surfaces. Proper cooling prevents warping, preserves dimensional accuracy, and keeps the final finish crisp.

What is the best plastic for CNC machining?
There’s no single best, but some standouts include:
- Acetal (POM): machines like a dream, low friction, good dimension stability.
- ABS: easy to cut, decent impact resistance.
- Nylon (PA): strong and tough; watch moisture pickup.
- Acrylic (PMMA): excellent clarity; needs careful feeds to avoid cracking.
- Polycarbonate (PC): tough and impact-resistant; produces clean features with sharp tools.
- HDPE and UHMW-PE: slippery, great wear resistance; control chatter and hold-down.
Choose based on needed strength, temperature, clarity, chemical resistance, and cost.
How to cut a 1 1/2 inch hole in plastic (without breaking)
- Mark the center and support the work with a flat backing board.
- Use a sharp 1 1/2 inch hole saw or a stepped cone bit; for thin sheet, a step bit reduces cracking.
- Clamp the part to prevent chatter.
- Run the drill at low-to-moderate speed; feed gently so heat doesn’t build up.
- For brittle plastics (like acrylic), use masking tape over the hole area, and peck drill to clear chips.
- Deburr lightly with a countersink or fine sandpaper.
Quality Control and Standards
Processors use quick tests to keep quality steady:
- Melt Flow Index (MFI): a simple measure of how easily a resin flows when melted; helps set processing conditions.
- DSC (Differential Scanning Calorimetry): checks melting point and crystallinity, which relate to stiffness and heat resistance.
- Tensile and impact tests: measure strength and toughness; vital for safety-critical parts.
- Color and appearance checks: ensure lot-to-lot consistency.
Regulatory reviews may apply for food-contact items, medical uses, and building products. Standards and testing methods guide material selection and product claims.
Plastic Types and Best-Fit Uses
We use short names, but each type of plastic has unique strengths. Knowing them makes it easier to create plastic parts that work well.
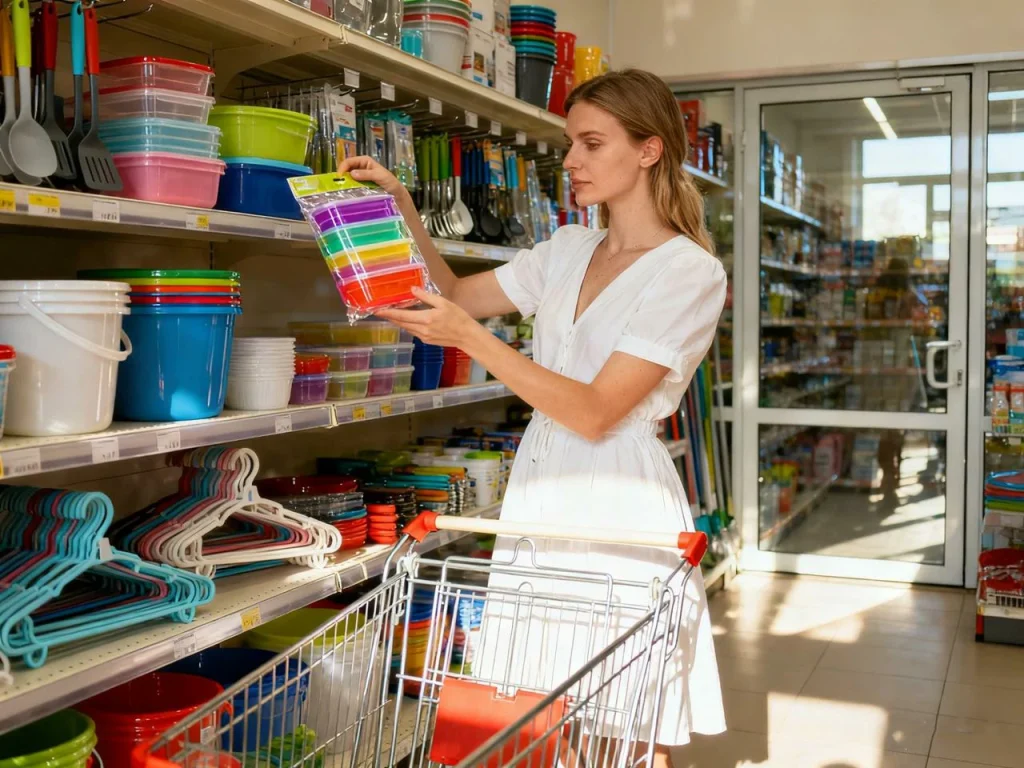
- Polyethylene (PE): Includes LDPE, LLDPE, and HDPE. LDPE and LLDPE are commonly used in films, grocery bags, and soft packaging due to their flexibility and ease of extrusion. HDPE, being stiffer and more durable, is ideal for milk jugs, caps, and piping systems. Its chemical resistance also makes it suitable for containers that store household chemicals and detergents.
- Polypropylene (PP, Type 5): Light and fatigue-resistant, polypropylene is excellent for living hinges, reusable caps, and storage cabinets. It is widely used in automotive components, fibers, and ropes because it maintains strength under repeated stress. PP is also resistant to moisture and many chemicals, making it a popular choice for both industrial and household applications.
- Polyvinyl chloride (PVC): PVC is strong, affordable, and versatile. It is used in pipes, building profiles, and wire insulation. Flexible PVC requires plasticizers and is often used for flooring, cables, and inflatable products. Its durability and low cost make it common in construction and infrastructure projects worldwide.
- Polystyrene (PS): Clear, rigid polystyrene is used for disposable cups, cutlery, and packaging. Expanded polystyrene (EPS) provides insulation and protective packaging for electronics and food. PS is lightweight and easy to mold, making it suitable for a wide range of consumer goods, though it can be brittle without modifiers.
- Polyethylene terephthalate (PET): PET is clear, tough, and provides a strong barrier to gases and moisture. It is widely used for beverage bottles, food containers, and textile fibers. PET is recyclable and often found in single-use beverage packaging, making it a key material in both packaging and fiber industries.
Direct comparison (quick reference):
| Resin | Typical Traits | Common Uses | Notes |
|---|---|---|---|
| LDPE/LLDPE | Flexible, good impact | Film, bags, wraps | Easy to extrude into film |
| HDPE | Stiff, chemical-resistant | Bottles, caps, pipes | Good for blow molding |
| PP (Type 5) | Light, fatigue-resistant | Hinges, food tubs, fibers | Good balance of cost/performance |
| PVC | Rigid or flexible | Pipe, profiles, wire | Needs stabilizers and plasticizers |
| PS/EPS | Rigid, insulative (EPS) | Cups, insulation | Brittle without modifiers |
| PET | Clear, tough | Bottles, fibers | Strong and recyclable in many areas |
If you are unsure, start by matching temperature needs, chemical exposure, and impact risk. Then check machinability or formability, and total cost over the part’s life.
Sustainability and Emerging Alternatives
Many people ask how plastic today can reduce harm to the ocean and the environment. The answer is not one thing; it’s a set of changes across the life cycle.
- Recycling plastic. Two main routes exist. Mechanical recycling regrinds and remelts; it works best for clean, single-resin streams like clear PET or HDPE bottles. Chemical recycling breaks polymers back into smaller molecules (oils or monomers) that can be refined and repolymerized; it may handle mixed or contaminated streams but needs energy and careful oversight.
- Design for recyclability. Favor mono-material packaging, avoid dark pigments and glued labels, and use compatible caps and closures. Simple designs avoid trapping used plastic in waste streams.
- Bioplastics and bio-based feedstocks. PLA and PHA can be biodegradable in the right conditions; bio-PE uses plant carbon but acts like normal PE. There are trade-offs: mechanical properties, composting infrastructure, and contamination in recycling streams.
- Footprint drivers. Main factors are feedstock (petroleum-based vs. bio-based), energy for crackers and polymerization, additives, and end-of-life. Lightweighting and smart material choice reduce the amount of plastic while keeping performance.
- Closed-loop programs. Return, refill, or in-house regrind keeps plastic waste out of landfills and water. Community collection and clear labels help.
Can I make my own plastic? Safely at home, you can make casein bioplastic from milk and weak acid, or a PVA-borate slime to show crosslinking. But home melting or chemical synthesis of petroleum-based plastics is not safe because it can release fumes and needs controlled equipment. Keep real synthesis and steam cracking to trained teams.
Safe At-Home Polymer Demos (Non-industrial)
- Casein “plastic” (milk + acid). Warm milk gently and add vinegar or lemon juice. Curds form—press them into shapes, then dry into small beads or buttons. This is an old bioplastic form called casein. It’s not tough like HDPE, but it shows how proteins can link together. Dispose of leftovers in normal trash; clean tools with soap and water.
- PVA-borate slime. Mix school glue (PVA) with water and a pinch of borax in water. The slime stretches because borate forms temporary bonds between chains—this shows crosslinking. Keep away from eyes, wash hands, and store out of reach of small kids.
- What not to do. Don’t heat resins to high temperatures, don’t use strong solvents, and don’t pressurize containers at home. Never attempt cracker or polymerization reactions without a lab, PPE, and training.
What This Guide Covers That Competitor Pages Miss
Most pages about plastic manufacturing focus on selling services. This guide gives you the step-by-step path—from feedstock to pellets to finished parts—plus clear science, classroom demos, and real-world picking advice. It balances how to create plastic, how to create plastic parts, and how to do it more sustainably, without pitching a plant or product.
Conclusion
Understanding how to create plastic starts with five core steps—feedstock, cracking, polymerization, compounding, and forming. With this guide, you can grasp the workflow, see the key molecules at work, pick the right resin and method, and choose safer, greener paths where possible. Use the visuals and FAQs to turn curiosity into clear, practical knowledge for school, shop, or plant.
FAQs
You can make plastic at home, but it’s important to keep expectations realistic. What you’re doing in a kitchen setting isn’t the full production of plastics you’d see in a factory — it’s more like a simple, hands-on demo of how to create plastic using everyday ingredients. For example, milk-and-vinegar “casein plastic” or cornstarch-based bioplastics let you make plastic that’s firm enough for crafts, prototypes, or science experiments. Just keep in mind these DIY versions don’t have the strength, durability, or heat resistance of industrial plastics. They won’t replace real mechanical parts or electronics housings, but they’re great for learning how polymers behave and what goes into turning raw ingredients into solid material. If your goal is functional parts, you’ll still need proper resins, molds, and controlled processing — but for experimenting and building intuition, home-made plastics work surprisingly well.
Most modern plastics start with fossil fuels — mainly crude oil and natural gas — because these sources provide the building blocks used to make plastic on a massive scale. Refineries break them down into lighter fractions like naphtha, ethane, and propane, which are then turned into monomers through chemicals including ethylene, propylene, and other key intermediates. These monomers snap together into long polymer chains that become everything from car parts to single-use packaging. Not all plastics come from fossil fuels, though. A growing segment of bioplastics begins with plant-based feedstocks such as corn sugar, cassava starch, or cellulose, processed with chemicals including natural enzymes or catalysts to create more eco-friendly polymers. Whether fossil-based or plant-based, all plastic starts with a raw material that can be broken down, rebuilt, and reshaped into the thousands of items we rely on every day.
Yes—you absolutely can. In fact, CNC machining plastic is pretty common because many thermoplastics cut cleanly as long as you use sharp tools, solid fixturing, and keep an eye on heat buildup. Plastics behave differently from metals, so you want high spindle speeds, steady chip evacuation, and cooling air to prevent melting or surface smearing. It’s a practical way to make prototypes, custom parts, or small production runs, especially for items we use in modern life like housings, gears, fixtures, and small mechanical components. When set up correctly, CNC milling and turning can deliver tight tolerances and smooth finishes, making plastic an easy and efficient material for precise manufacturing.
There isn’t just one “winner,” but several materials consistently rise to the top depending on what you need. Among the main types, Acetal (POM) is often the go-to because it machines cleanly, holds tight tolerances, and gives you a crisp finish. ABS is another solid option when you want a lightweight, affordable plastic that’s easy to cut and stable during machining. For strength and wear resistance, nylon performs well, especially in parts that face friction or repeated use. If transparency matters, acrylic and polycarbonate are popular—acrylic gives a very polished finish, while polycarbonate delivers better impact resistance. When you need something slick, durable, and good for low-friction applications, HDPE and UHMW-PE are reliable picks. In the end, the “best” choice depends on whether your project prioritizes accuracy, toughness, smooth surface finishes, or all three.
Type 5 plastics refer to polypropylene (PP) in the resin identification code system, and it’s one of the most widely used materials in everyday products. PP is lightweight, highly flexible, and known for its impressive fatigue resistance—meaning it can bend repeatedly without cracking. This is why it’s the material behind those “living hinges” on flip-top caps and containers that snap open and closed hundreds of times. You’ll also find polypropylene in food tubs, yogurt cups, reusable storage containers, medication bottles, straws, dishwasher-safe items, and even certain automotive parts. Another reason PP is so common is its resistance to heat, moisture, and many household chemicals, which makes it safe and practical for food contact and long-lasting household use. When you spot the number 5 inside the recycling triangle, that’s your signal you’re dealing with polypropylene, one of the most versatile plastics in modern manufacturing.