If you’re asking how do I drill, start here. This beginner-friendly guide gives you a fast, safe path to straight holes in wood, metal, masonry, tile, and plastic—covering tools, bits, settings, and the exact steps pros use, plus troubleshooting, calculators, and safety checks.
How do I drill: quick-start checklist (reverse-pyramid essentials)
- Mark the spot: Make a pencil mark. Use an awl or punch to prevent the bit from “walking.”
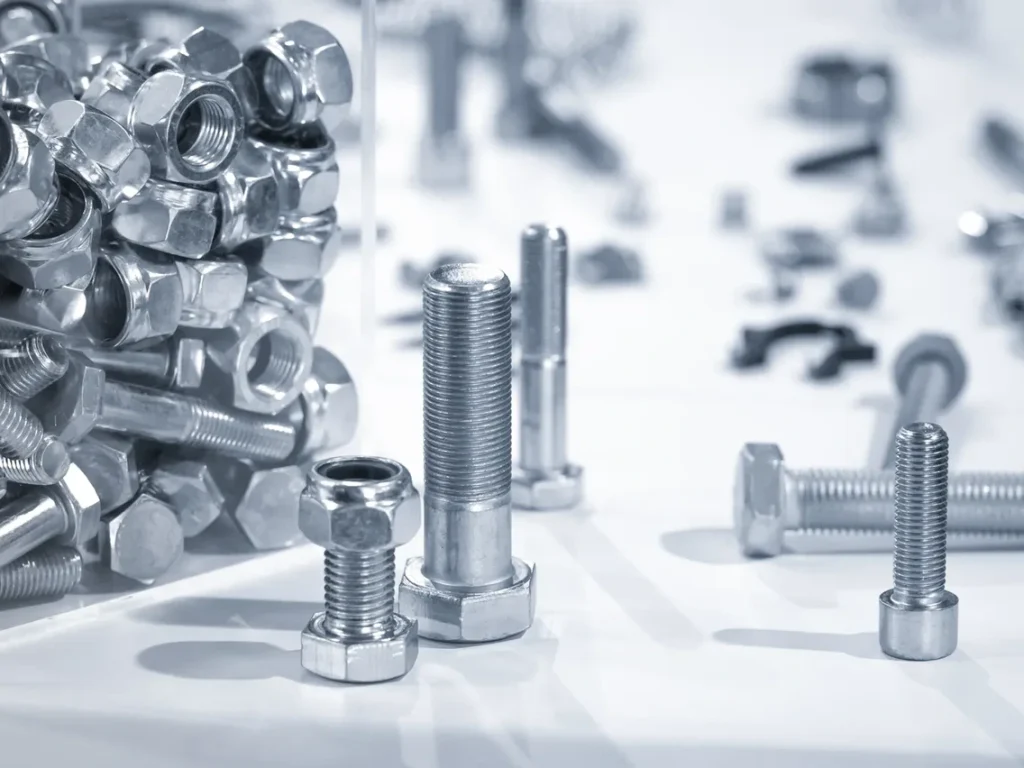
- Choose the drill bit: Match bit to material (wood, metal, masonry, tile). For pilot holes, use a bit about 85–95% of the screw’s minor diameter.
- Safety first: Wear safety glasses, tie back hair, and avoid loose clothing. Use clamps. Scan walls for wires/pipes with a detector before drilling.
- Set up: Insert the bit fully into the chuck, then tighten. Spin it to make sure the bit is centered and true.
- Drill mode: Use regular drill mode for wood, metal, plastic. Use hammer mode for masonry. Set the clutch only when driving screws.
- Technique: Hold the drill perpendicular. Start slow. Apply steady pressure. Use tape on the bit as a depth stop. Drill slightly deeper than the fastener. Back out slowly to avoid tear-out.
- Quick facts:
- Typical drill speeds: about 700–3000 RPM. Start slow to avoid wandering.
- Wall hazards: Striking live wires can cause shock or fire. Always scan before drilling.
- Oil for metal: A few drops of cutting oil reduce heat and extend bit life.
Tools and setup basics (drills, bits, settings)
If you can use a drill safely and select the right gear, you’ll get clean, straight holes. Think about the material you are drilling, the bit, and your settings. The rest becomes easy, steady work.
Cordless and corded drills both work well. Cordless is handy, and modern batteries deliver strong power. A hammer drill adds a pounding action for brick, block, and concrete. A right-angle drill fits into cabinets and tight corners. An impact driver is great for screws and bolts, but it’s not ideal for drilling clean holes because it hammers rotationally rather than cutting smoothly.
Know the drill’s parts. The chuck grips the bit. The clutch sets torque for driving screws. The trigger controls speed. The direction switch selects clockwise (drill/drive) or counterclockwise (reverse). Some drills have setting 1 (low speed and high torque) and setting 2 (high speed and low torque). An auxiliary handle helps control bigger holes and reduces kickback.
Choose bit types to match your job:
- Wood: Twist bits are common. Brad-point bits stay on center in wood. Spade bits and auger bits make larger holes. Forstner bits cut flat-bottom, clean holes. Hole saws make large diameters.
- Metal: HSS (high-speed steel) works for mild steel and aluminum. Cobalt handles tougher steels and heat. Step bits are great for sheet metal and enlarging holes.
- Masonry: Carbide-tipped masonry bits withstand hammer action for brick, block, and concrete.
- Tile/Glass: Spear-point or diamond bits drill hard glaze and glass without cracking when used with light pressure and water.
- Plastic: A sharp twist bit with light pressure gives clean results. A slightly modified edge can reduce grabbing on exit.
Set the drill for the job. Use lower speed for metal and large holes. Use higher speed for small bits and soft materials. Use hammer mode only on masonry. Use the clutch for screws so you don’t strip the threads or bury the screw head too deep.
Tip: Before you start drilling, practice on scrap. You’ll learn the right torque setting, speed, and pressure for each material.
Step-by-step drilling instructions by material
When you ask, “How do I drill a hole?” the exact steps change a little by material. Here is the simple, safe path for each common case.
Wood (studs, hardwoods, plywood)
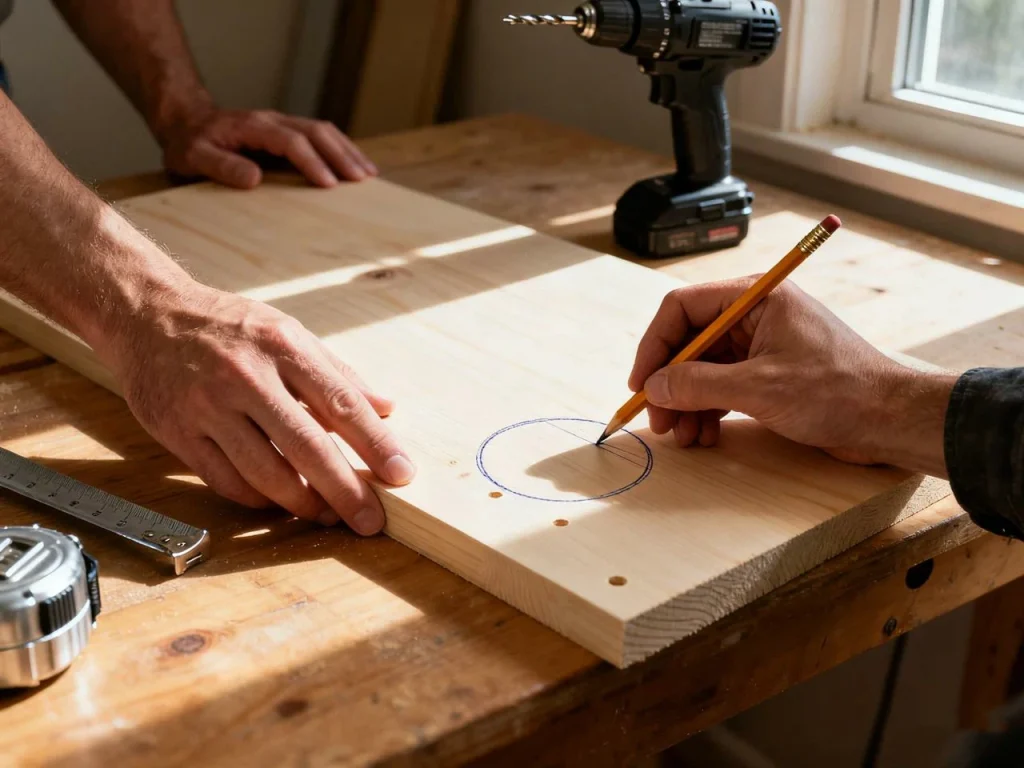
Begin with accurate marking. Use a pencil to mark your spot. For best accuracy, press a punch or even a hammer and nail lightly to make a small dent so the tip of the drill bit won’t skate.
Make a pilot hole sized to the minor diameter of your screw. A good rule is 85–95% of the screw’s inner diameter (the solid core, not counting the threads). This keeps the piece of wood from splitting, especially near edges or in hardwood. If you want a flush finish, countersink the top so the screw head sits clean.
Use medium to high speed with sharp bits. Align the drill so it’s perpendicular. Begin at low RPM so the bit bites. Then increase speed smoothly as chips clear. If you’re drilling through to the far side, support the exit with scrap wood to avoid splintering. If you need large holes, a spade bit works fast but can tear out. A Forstner bit drills cleaner holes with flat bottoms but needs firm pressure and a steady hand.
Want cleaner holes? Try a brad-point bit, tape your length of the screw on the bit to set depth, and pull the bit out a few times to clear debris.
How to drill for screws in wood:
- Make a pilot hole as above.
- Add a countersink if needed.
- Switch to a driver bit, set the clutch low, and drive screws until snug. Increase torque if needed, but avoid stripping.
Metal (steel, aluminum)
How do you drill into metal without burning bits? Slow down, control heat, and use lubrication. First, mark your spot and use a center punch to create a solid starting dent. Clamp the work securely so it won’t spin. That protects your hands and gives a smoother hole.
Use low speed and steady pressure. Add a few drops of oil to the cutting area. This keeps the bit cool and extends life. For large holes, start with a smaller bit size and step up through a few sizes, or use a step bit on thin sheet. After drilling, deburr sharp edges with a countersink bit or a file.
If the bit squeals or you see smoke, that’s a sign to add oil and slow the RPM. If the bit grabs at breakthrough, reduce pressure and let it ease through. Always keep your wrist straight and your stance firm to manage sudden spin.
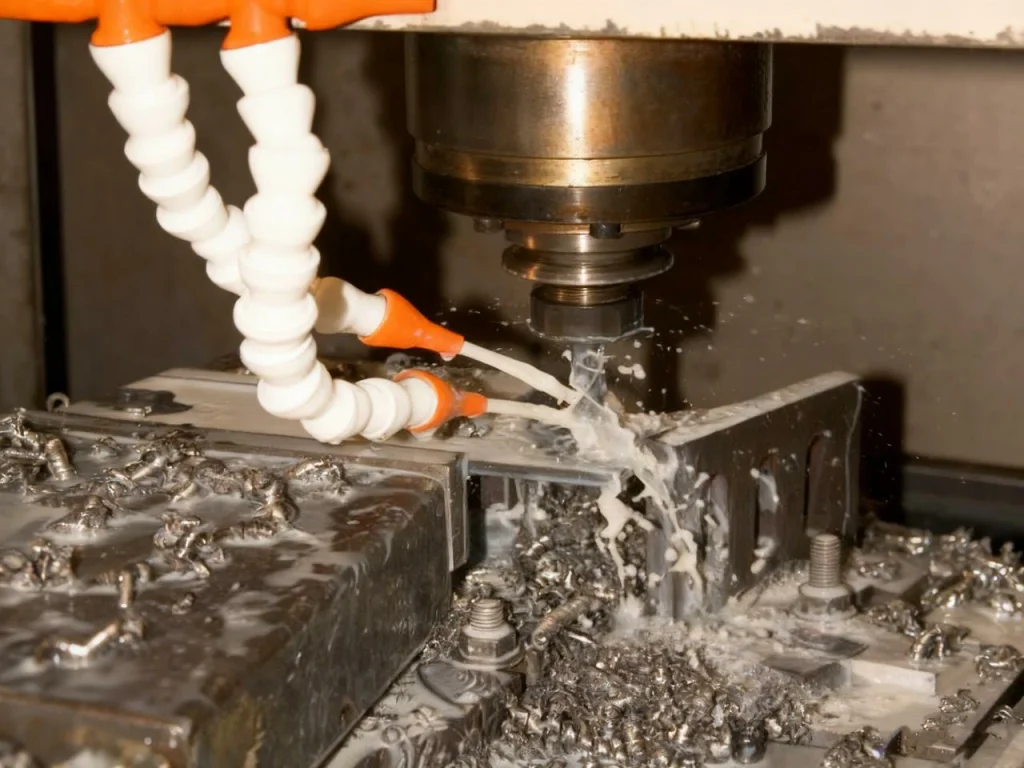
Pro tip: For more complex metal parts or high-precision holes, CNC machining services like CNC Milling or CNC Turning can ensure consistent, accurate results, especially for industrial-grade steel or aluminum components.

Masonry (brick, block, concrete)
Wondering how to drill into concrete or brick without ruining bits? Use the right tool. A hammer drill with a carbide masonry bit is key. Before anything, scan the wall for hidden wires or pipes. Then mark your hole.
Start with a smaller masonry bit to make a pilot in hard concrete. Use hammer mode, hold the drill square, and apply moderate, even pressure. Don’t lean your full weight. Pull the bit out every few seconds to clear dust. For deep holes, vacuum dust from the hole to reduce heat and binding.
Use anchors that match the wall and the load. Light loads in brick? A basic plug can work. For concrete and heavier loads, use sleeve anchors, wedge anchors, or structural screws made for masonry—always follow the hole diameter and depth on the package.
Tile (ceramic/porcelain)
Tile can crack if you rush. Mark your hole and place painter’s tape over the spot to keep the bit from slipping. Start with a spear-point or diamond bit. Do not use hammer mode on the tile surface. Use very light pressure and drill slowly. A little water on the bit and tile helps with cooling.
Once you’re through the tile, switch to a masonry bit if you need to continue into brick or concrete behind it. Then drill the hole to full depth. This two-step method protects the tile and still gives you the strength of a masonry substrate.
Plastic
Many people ask how to drill through plastic without cracking. The trick is gentle speed and light pressure. Use a sharp twist bit, keep the drill at a low to medium speed, and do not force it. If the plastic lifts or grabs at exit, back the work with scrap wood and slow down at the end. If you need very clean holes, let the bit cool between holes and avoid aggressive cutting edges.
Tip: Some plastics soften with heat. If your hole looks melted, slow your speed, reduce pressure, and pause to let heat escape.
Safety essentials and hazard checks
Power tools are safe when you follow a few simple rules. Put PPE first. Always wear eye protection. Even small chips can cause injuries. For hammer drilling, add hearing protection, as prolonged exposure to drilling noise can harm hearing, based on NIOSH noise guidelines. For concrete, dust can harm lungs due to silica exposure, so wear a dust mask or respirator rated for fine dust according to CDC silica safety guidance.
Secure your work. Use clamps or a vise. Keep your body balanced, wrists neutral, and grip firm. An auxiliary handle helps control kickback, especially with larger bits.
Check for hidden hazards. It only takes one hole in the wrong place to hit a live wire or pipe. Use a wire/pipe detector on walls. Avoid drilling directly above or below outlets and switches unless you have scanned and are sure it’s clear. If you are unsure, turn off power to the circuit before you begin.
Follow safe shop rules. Keep hair tied back, remove jewelry, and keep sleeves snug. Do not wear gloves near rotating tools. Make sure the chuck key is removed before you pull the trigger. If using a drill press, remember the 4-inch rule: keep hands at least 4 inches away from the rotating bit, and use clamps to hold the work. This reduces the chance of contact and kickback.
What are the three steps of drill? In simple terms:
- Mark and secure the work.
- Choose and set the right bit, mode, and speed.
- Drill and finish the hole with control, then clean and check.

Interactive aids and calculators (gap-closing enhancements)
You can make great choices fast with a few simple tools. Use these text-based guides as your drilling guide when you need quick answers.
Decision flowchart:
- What are you drilling?
- Wood → Use brad-point or twist. Drill mode. Medium-high speed. Pilot hole 85–95% of screw minor diameter. Optional countersink.
- Metal → Use HSS or cobalt. Drill mode. Low speed. A few drops of oil. Step up sizes for large holes.
- Masonry → Use carbide masonry bit. Hammer mode. Moderate pressure. Clear dust often. Choose anchors by load and substrate.
- Tile/Glass → Use spear-point or diamond. Drill mode. Low speed, light pressure, water to cool. No hammer until past tile.
- Plastic → Use sharp twist bit. Drill mode. Medium speed. Light pressure. Backer board to prevent cracking.
Pilot hole calculator (fast method):
- Measure the inner diameter of the screw (minor diameter, not including the thread). If you don’t have calipers, compare the screw to the bit by holding both to the light: pick the diameter of the drill bit that matches the screw’s solid core.
- For wood: choose a pilot that is about 85–95% of that inner diameter.
- For hardwood: use the higher end of that range. For softwood: the lower end is fine.
- For metal: match the pilot to the screw’s inner diameter closely so the threads can cut without stripping.
RPM guide (suggested ranges; start low and adjust after a test hole):
| Material | Bit diameter | Suggested RPM range |
|---|---|---|
| Wood | ≤ 1/8 in (3 mm) | 1500–3000 |
| Wood | 1/8–3/8 in (3–10 mm) | 1000–2000 |
| Wood | ≥ 1/2 in (13 mm) | 500–1000 |
| Metal (steel) | ≤ 1/8 in (3 mm) | 600–1000 |
| Metal (steel) | 1/8–3/8 in (3–10 mm) | 300–600 |
| Metal (aluminum) | ≤ 1/4 in (6 mm) | 800–1500 |
| Masonry (hammer) | 3/16–3/8 in (5–10 mm) | Drill speed low–medium; hammer on |
| Tile/Glass | ≤ 1/4 in (6 mm) | 300–600 with water |
Anchor selector (wall type and load):
| Wall/substrate | Load example | Anchor type | Hole size tip |
|---|---|---|---|
| Drywall only | Light (small frames) | Plastic expansion anchor | Match anchor’s marked bit size |
| Drywall with stud | Medium–heavy (shelves, TV) | Lag screw into wood stud | Pilot = 85–95% of lag’s minor diameter |
| Brick/block | Medium–heavy | Plastic/nylon plug or sleeve anchor | Drill to plug size; keep hole clean |
| Concrete | Heavy | Wedge or sleeve anchor | Follow manufacturer size and depth |
| Tile over masonry | Light–medium | Tile-safe plug, then masonry anchor behind | Drill tile first (diamond), then substrate (masonry) |
Troubleshooting and common mistakes
- Bit walking at start → Use a punch/awl, add painter’s tape, hold steady, and start at low RPM.
- Splintering/blowout in wood → Use a backer board, drill a pilot, use a brad-point bit, and slow down at exit.
- Bit binding or kickback → Clear chips often, use step bits for large holes, hold the drill with two hands, and avoid pushing too hard.
- Overheating or smoke → Lower RPM, add lubrication for metal, use a sharper bit, and pause to cool.
- Wobbly holes → Retighten the chuck, replace bent bits, use a drill guide or a drill press.
- Tile cracks → No hammer on tile, apply light pressure, cool with water, and let the bit do the work.
- Anchors spinning in the hole → Hole is oversize; use the correct bit that matches the anchor, or switch to a different anchor type.
Project modules (popular real-world scenarios)
Before diving into the step-by-step instructions for specific projects, it’s helpful to see how these drilling techniques come together in real-life situations. Whether you’re hanging shelves, mounting a TV, installing kitchen or bathroom hardware, or working in tight spaces, the principles of marking, pilot holes, correct drill bits, and steady technique all apply. The following examples show practical ways to use the skills you’ve learned so you get clean, precise results every time.
Hanging shelves
Find studs with a stud finder or choose proper anchors if no stud is available. If using studs, drill a pilot hole, then countersink if needed for a clean look. Switch to a driver bit and set the torque setting low. Drive the screws snug, then check level and adjust.
Mounting a TV
Confirm stud location with two passes and a small pilot test if needed. Use lag screws that match your bracket. Mark depth on the bit with tape. Drill straight and slightly deeper than the lag’s length. Drive lags with a socket adapter or hand wrench for final snug.
Kitchen/bath hardware
Mark with a template or tape measure or ruler. Use a brad-point bit for clean holes in finished cabinets. Support the back side to prevent blowout. For tile backsplashes, use diamond or spear-point bits at low speed with water, then switch to a masonry bit if needed.
Tight spaces
Use a right-angle drill or a compact attachment. Try stubby bits. Pre-mark and even pre-drill a small pilot where you have room, then finish the hole in the tight area.
Case study: installing a shelf (from video and forum insights)
You want a shelf in a hallway. Simple job, right? You gather a cordless drill, a carbide masonry bit and a wood bit, plastic anchors, screws, a small level, and tape.
You start by marking the bracket holes with pencil. You put tape on your bit at the needed depth. Before drilling, you scan the wall for wires and pipes. You feel a bit tense, so you test a small pilot hole first in an inconspicuous spot. The detector reads clear, so you proceed.
At the first bracket mark, the wall feels like plaster over brick. You set the drill to hammer and use the masonry bit. You start drilling at low speed so the bit won’t skate. After a second, you let the hammer work and apply steady pressure. Every few seconds, you pull the bit out to clear dust. When you hit depth, you insert the anchor—fits snug. For the second bracket, you hit a wooden stud instead of masonry. You switch the drill to regular drill mode, swap to a brad-point bit, make a pilot hole, and then drive screws with the clutch set low, increasing until the screw sits tight without stripping.
You keep two hands on the drill to manage any kickback. After mounting both brackets, you place the shelf, set a level on top, and tighten the final screws. Clean result, no cracks, no surprises.
Accessibility and learning aids
Left-handed users can swap the auxiliary handle to the other side and adjust body position so your sightline stays clear. If grip is limited, choose a lighter drill, always clamp the work, and use a drill guide to hold angles. If you have low vision, prepare large-print checklists, high-contrast marks on your drill and bits, and set up audio prompts for key steps. For anyone who likes paper aids, keep a printable one-page checklist for pre-flight checks and short, step-by-step cards for wood, metal, masonry, tile, and plastic.
Conclusion and key takeaways
To answer “how do I drill” in the simplest way: mark accurately, match the bit to the material, set the right mode and speed, and start slow. For reliable results: scan for hazards, use pilot holes, control speed and pressure, and use guides or the quick calculators above to size pilots, choose anchors, and set RPM. With these beginner drilling tips, you’ll get straight holes, tight screws, and fewer surprises.
FAQs
How do you drill
Drilling is really not that complicated once you know the steps. First, mark exactly where you want your hole—precision here saves a lot of headaches later. Then, choose the right drill bit for your material, whether it’s wood, metal, masonry, tile, or plastic. Make sure your drill is set up properly: the bit is secure in the chuck, the speed is appropriate, and your drill is in the correct mode. Hold it perpendicular to the surface, start slowly so the bit bites, and apply steady pressure. For deeper holes, pull the bit out occasionally to clear debris. Always wear safety glasses and check for any hidden wires or pipes before you start. Once you get the hang of it, your holes will come out straight and clean.
How to drill a hole
Drilling a hole is really just a step-by-step process. Start by marking the spot with a pencil and, if you can, make a small dent with a punch so your drill bit doesn’t wander. Pick the right bit for the material and insert it into the drill, making sure it’s tight and centered. Use the right speed—lower for metal or large holes, higher for small bits or soft materials. Keep your drill steady and perpendicular, and start slow so the bit can bite without slipping. If you’re drilling all the way through wood or tile, support the backside with scrap material to prevent splintering. Take your time, clear debris, and don’t rush—precision beats speed here.
How to drill a pilot hole without drill bit
Okay, so technically, a pilot hole is made with a drill bit, but if you’re in a pinch and don’t have one, there are a few tricks. You can start with a nail, punch, or an awl to make a small dent in your material. This gives a guide for your screw to follow and prevents splitting in wood. For metal, you could use a sharp nail and hammer lightly to create a starter point. Basically, you’re creating a mini guide so the screw can thread in easily without a proper bit. It won’t be as clean as using a drill bit, but for small screws or light-duty tasks, it works in a pinch. Always take it slow and make sure your workpiece is clamped securely so nothing slips.
How to drill through plastic
Plastic can be tricky because it can crack or melt if you’re not careful. Use a sharp twist bit and set your drill to low or medium speed. Apply gentle, steady pressure and don’t force it—letting the bit cut naturally is key. If the plastic lifts or grabs at the exit, back it up with a scrap piece of wood. For extra clean holes, you can let the bit cool between holes, especially if you’re drilling several in a row. Tape on the surface where you’ll drill can also help prevent chipping. Basically, take your time, use light pressure, and make sure the plastic is well-supported, and you’ll get a smooth hole without cracking or melting.